
This guide will walk you through the necessary steps to incorporate a logo onto your Niagara station Login Screen.
Doing so allows for a more custom feel to a station web login screen or can be beneficial to web users logging in to be greeted with familiar branding.
The process to achieve this is simple and all you will require in the station is a logo image in .jpg or .png format and make sure that the image is no wider than 350 pixels.
In builds N4.10 or later you will need to set a public folder within the Niagara station root. For example “file:^^public/ExampleLogo.png”. Files in the public folder will be available to the web service, pre login.
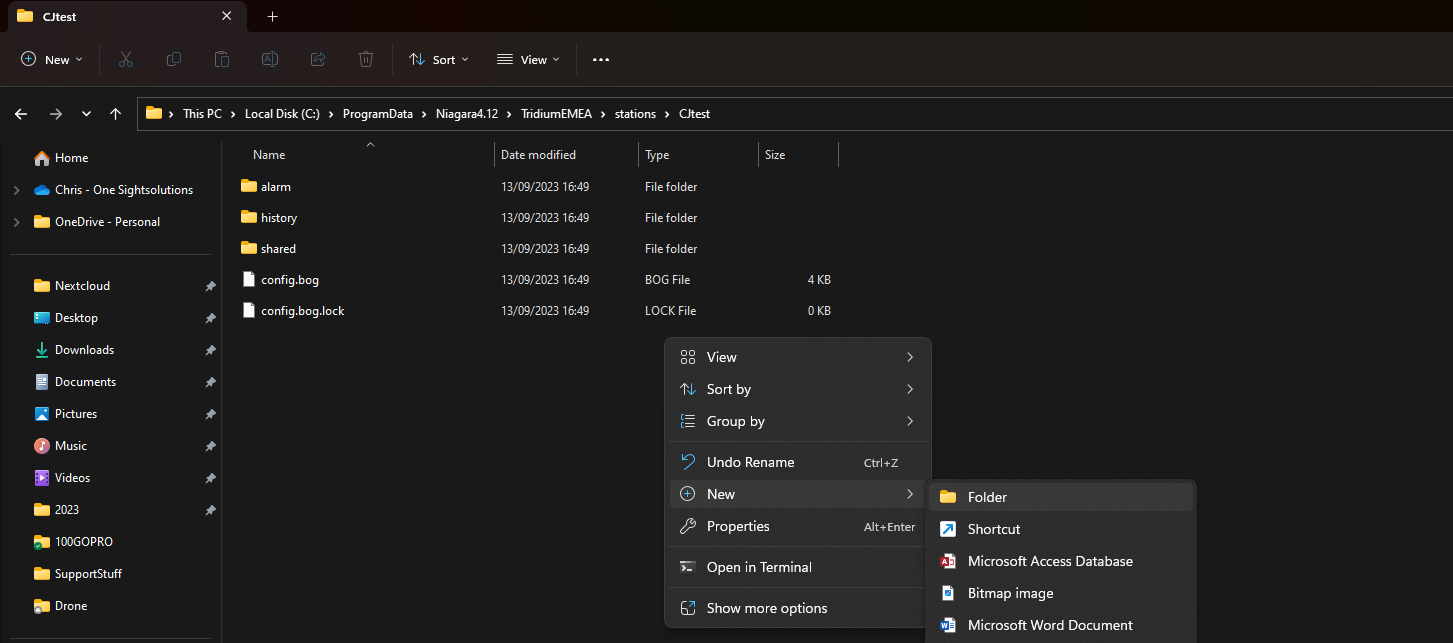
In the root of the station folder, create a new folder called public. This is where the images you will be using for your login page will reside. For example: C:\ProgramData\Niagara4.12\TridiumEMEA\stations\CJtest\public
Transfer the image to the supervisor.

Once you have placed your image in the public folder you will need to return to workbench where we will need to add the slot to incorporate the image to the page.
Open the station and navigate to Config, Services, WebService and change the view to Ax Slot Sheet. Right Click on the page and add a new slot. Select type as baja String and change the slot Name to logo. Then change the view to the Ax Property sheet then navigate the new slot. Then in the slot point towards the public folder using the string file:^^public/image.png where image.png will replaced with then actual file name of your image.
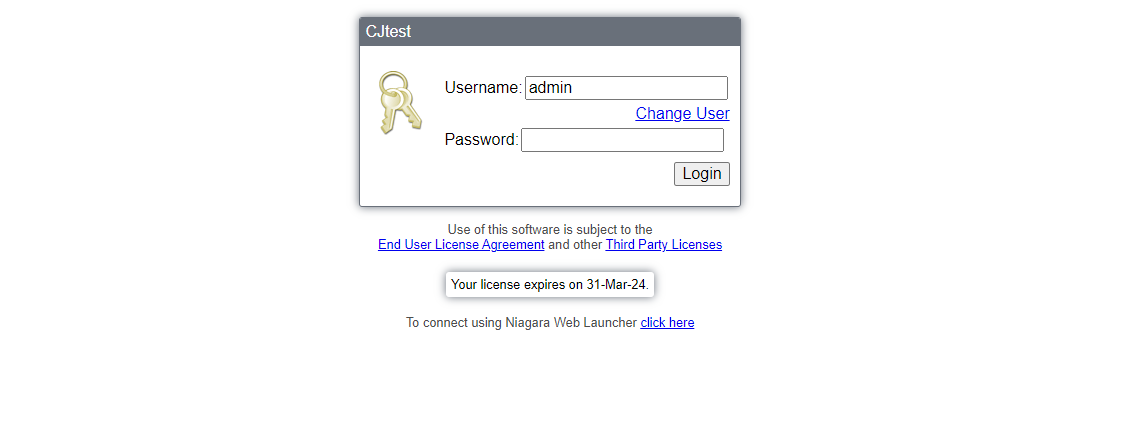
Hit save at the bottom of the page and you should then see the JettyWebServer restart. Once this has restarted you can open your web browser and navigate to the Station address with the web port included (default 443).
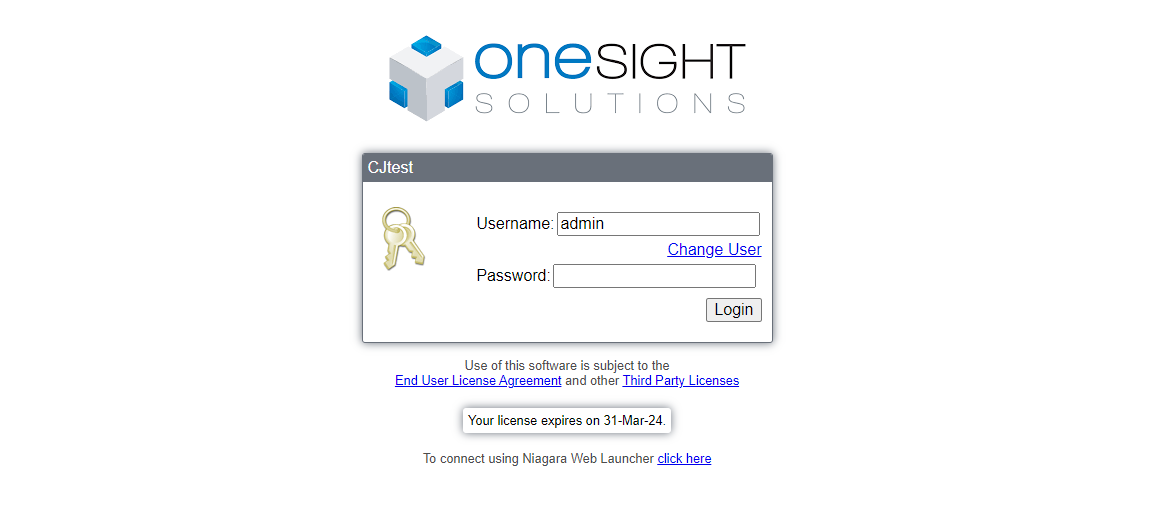
You should now see something like this:
We can add a little more customisation at this point if you so wish by changing the station name. Simply right click on Config in the Nav Tree and select AX Slot Sheet. Right click on the bottom of the page and then add slot. In the name box type displayName and set type to baja and String then click ok. Change to Ax Property Sheet and then add your custom text.
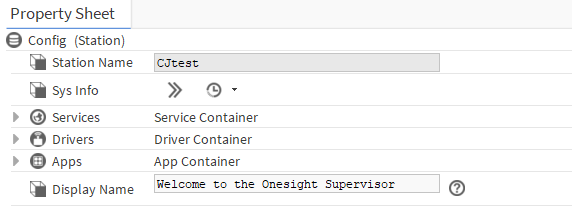
Click save and you should now see you custom text applied to the login page.
I’ve you’re looking to go even further with customisation then there is a Third Party Module by NiagaraMods called Domo which allows you to get more creative with your login page. Either Building a page from scratch using CSS or one of the included templates to include background images.
Take a look here.