If your Niagara system is unable to reach the internet, or is within a restrictive environment then you may find that Niagara is unable to automatically fetch its license files from the Tridium licensing server. If this is the case then they can be manually installed by following the below instructions.
If you havn’t already, please request a copy of the license & certificate files be emailed to you. Once requested you should receive 2 ZIP files.
- Extract both of these ZIP files using your unzipper program of choice.
- Assuming Niagara has been installed to the default location, copy the license files and paste them into C:\Niagara\Niagara-4.****\security\licenses
- Now copy the certificates and paste them in C:\Niagara\Niagara-4.****\security\certificates
You should now close any Niagara windows which may be open and restart the platform service by opening ‘Services’ from the Windows start menu, finding ‘Niagara’ in the list, right clicking and chosing ‘Restart’.
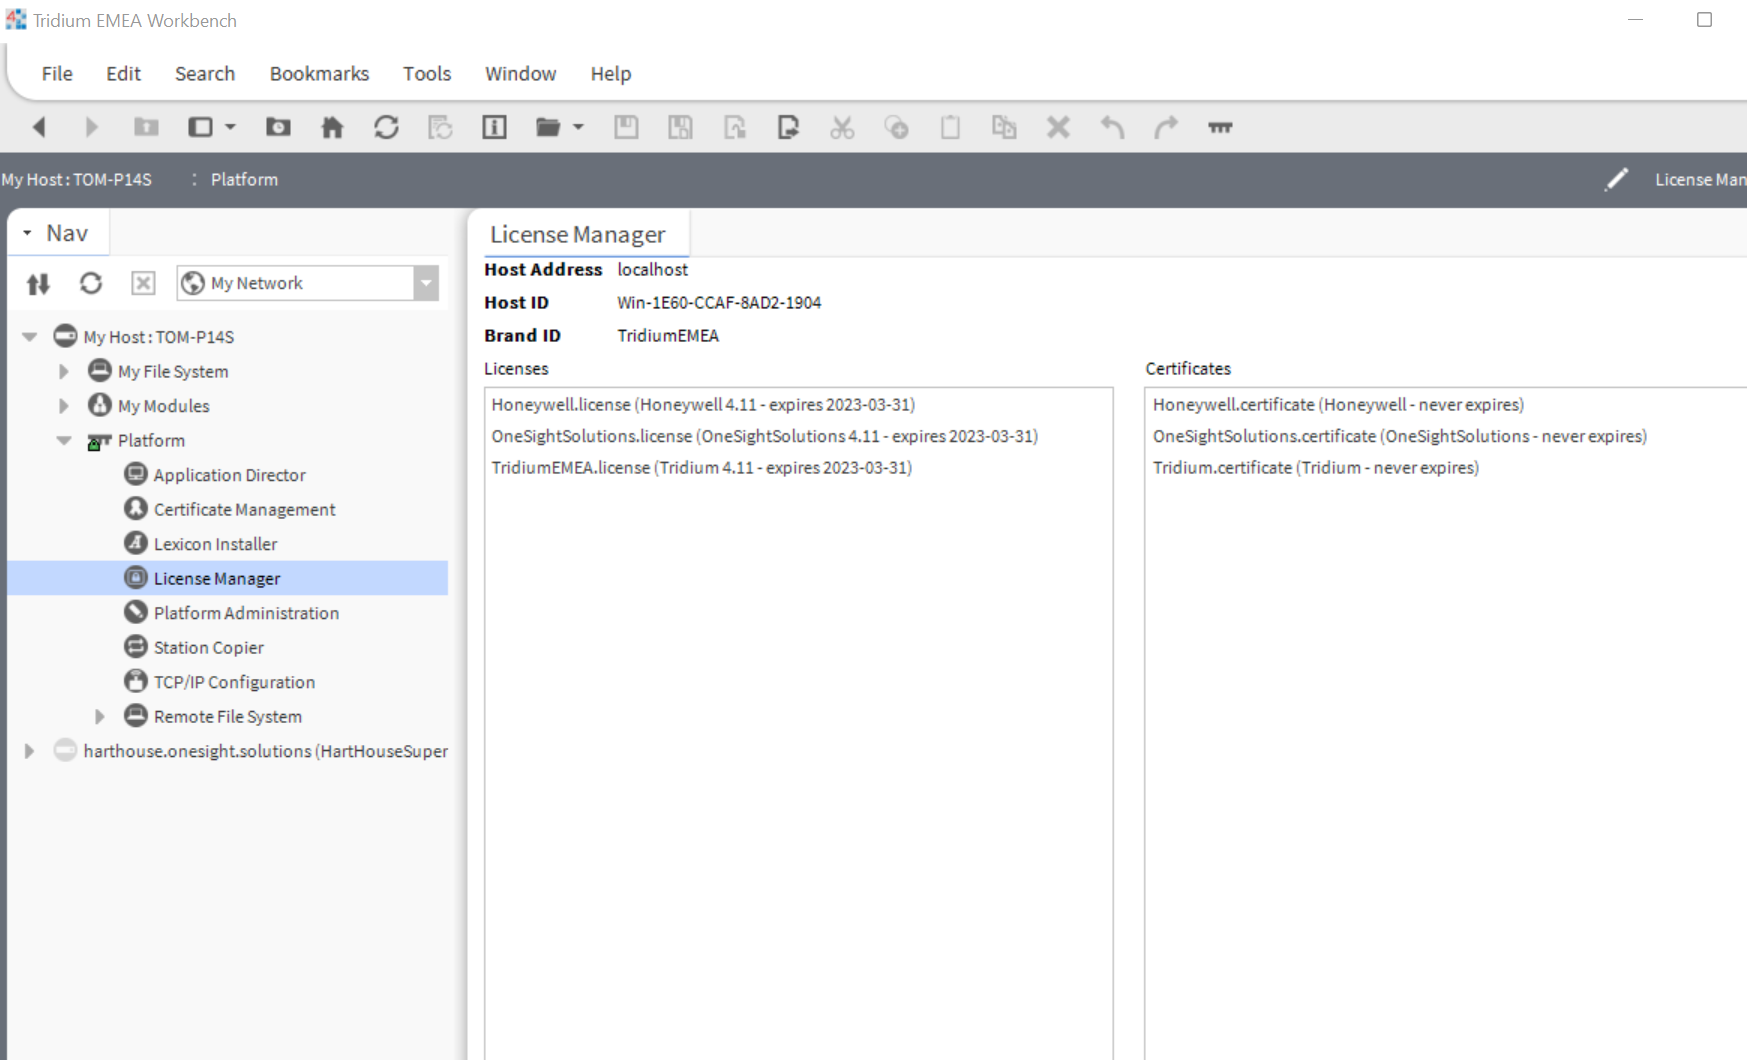
Now open Workbench. It should open as expected at which points your licenses are loaded. You may confirm this by checking Platform > License Manager.