Updated for version 1.0.0
Introduction
This document provides a quick guide to using the One Sight Solutions Niagara ossTeamsTools Niagara module.
The software allows Niagara Alarm notifications to be sent to a Microsoft Teams Channel.
Requirements
It is assumed that the user is trained in the use of Niagara 4.
The ossTeamsTools software is only compatible with Niagara versions 4.8 or later.
You must read the End User License Agreement before using this software.
It is assumed that the user has access to a Microsoft Teams Channel, and sufficient rights to create webhooks.
Installation
First install the ossTeamsTools software modules and ensure you have a valid license from One Sight Solutions installed.
Please contact One Sight Solutions <sales@onesight.solutions> to obtain the software or a license.
ossTeamsTools Operation
The ossTeamsTools palette has a single component, as shown in Figure 1.

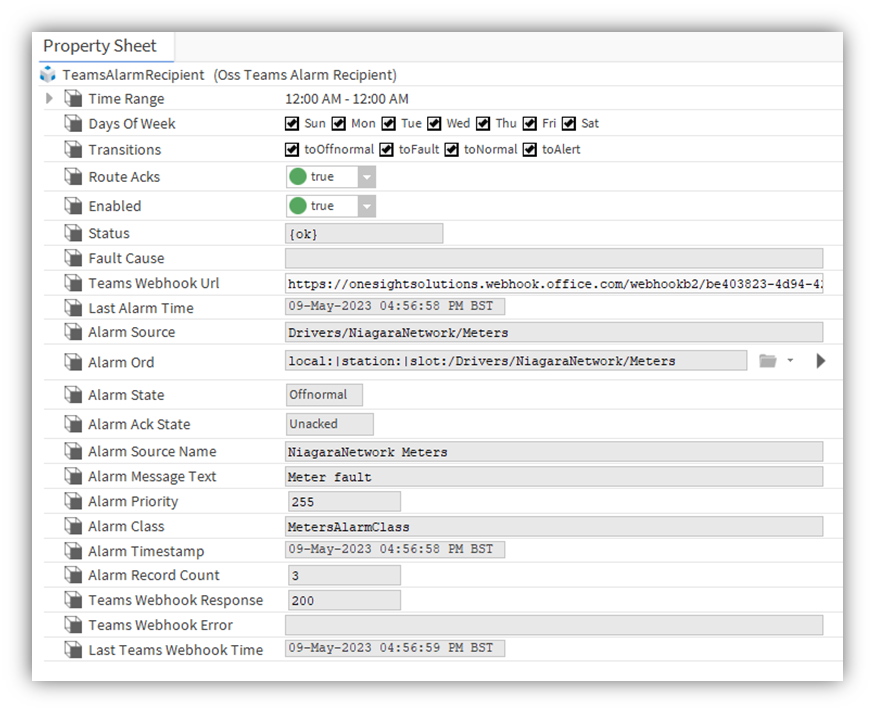
The TeamsAlarmRecipient component should be placed in the Alarm Services folder, along with the associated alarm classes.
The required alarm classes should be linked to the ‘Route Alarm’ action in the same way as standard Niagara alarm recipients, as shown in Figure 2.

The only property that needs to be setup in the TeamsAlarmRecipient is the Teams Webhook URL.
How to get this URL is described below.
Setting Up The Teams Webhook with Power Automate Workflows.
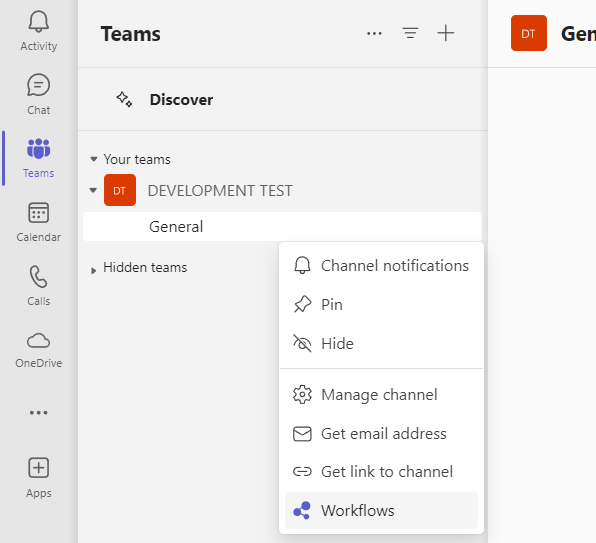
To set up the Microsoft Teams Webhook you must first find or create the Teams Channel where you wish the Niagara alarm alerts to appear. Then select the menu for that channel by clicking on the three dots to the right that appear when you hover over the heading, as shown in Figure 3.
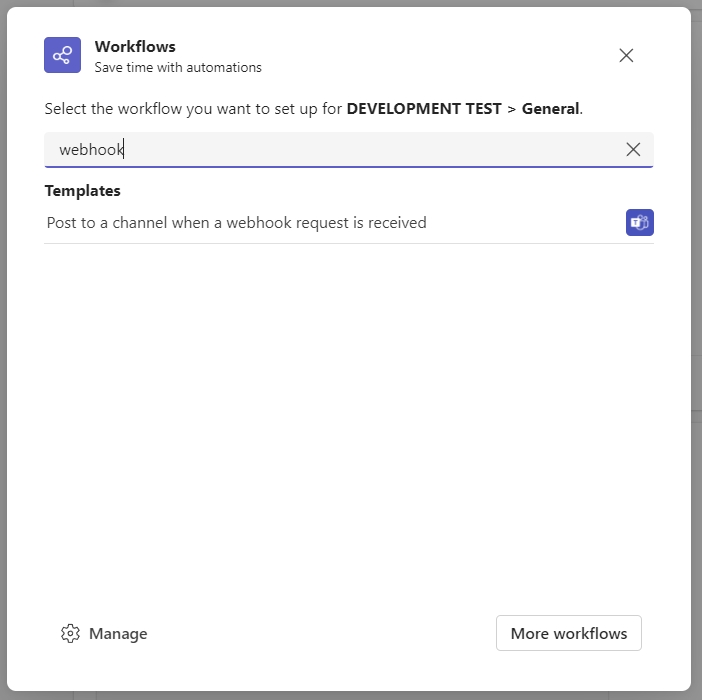
Click on the ‘Workflows’ option and a new window should appear with a list of workflow templates. OssTeamsTools requires a webhook – search ‘webhook’ in the search bar, and select the ‘Post to a channel when a webhook request is received’ template.
Wait while Teams verifies the workflow connection is valid, then press next once a green tick appears.
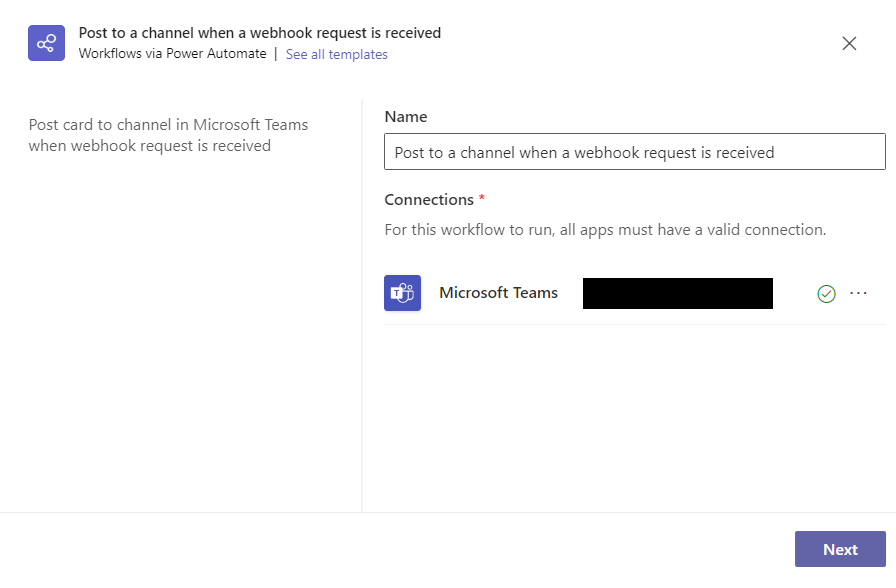
Once the Details panel appears (which may take a moment), confirm that both the Team and Channel are correct. Then ‘Add workflow’.
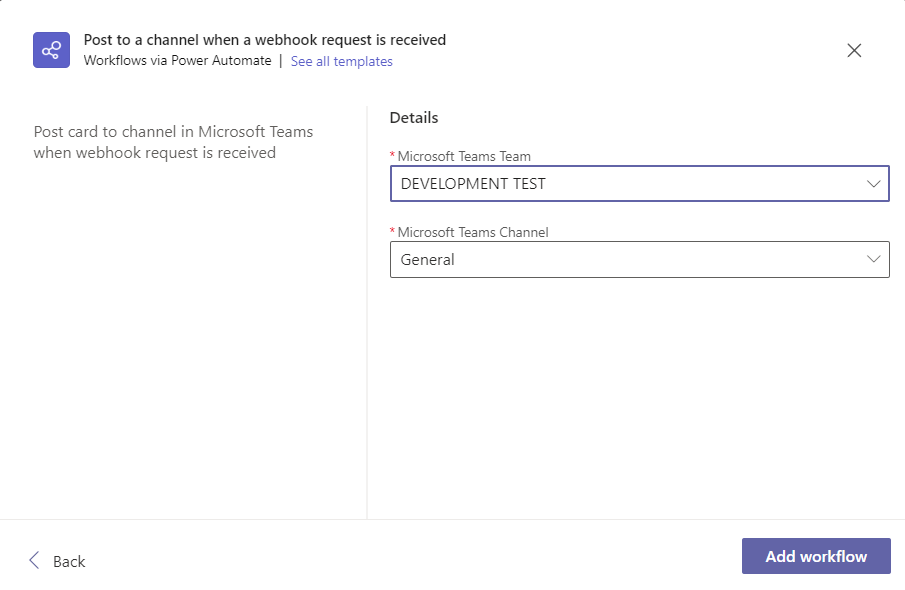
The webhook URL should appear in the box at the bottom of the view.
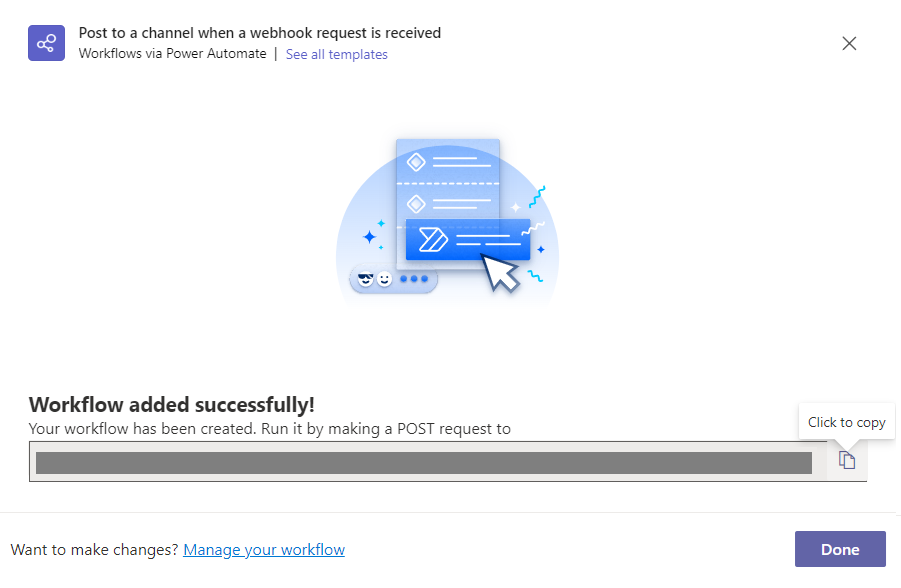
Copy the new webhook URL and paste it into the TeamsAlarmRecipient ‘Teams Webhook Url’ property.
Setting Up The Teams Webhook with Connectors
Microsoft Teams connectors are being retired by Microsoft by December 2024. We strongly recommend using the Power Automate Workflows.
To set up the Microsoft Teams Webhook you must first find or create the Teams Channel where you wish the Niagara alarm alerts to appear. Then select the menu for that channel by clicking on the three dots to the right that appear when you hover over the heading, as shown in Figure 3.
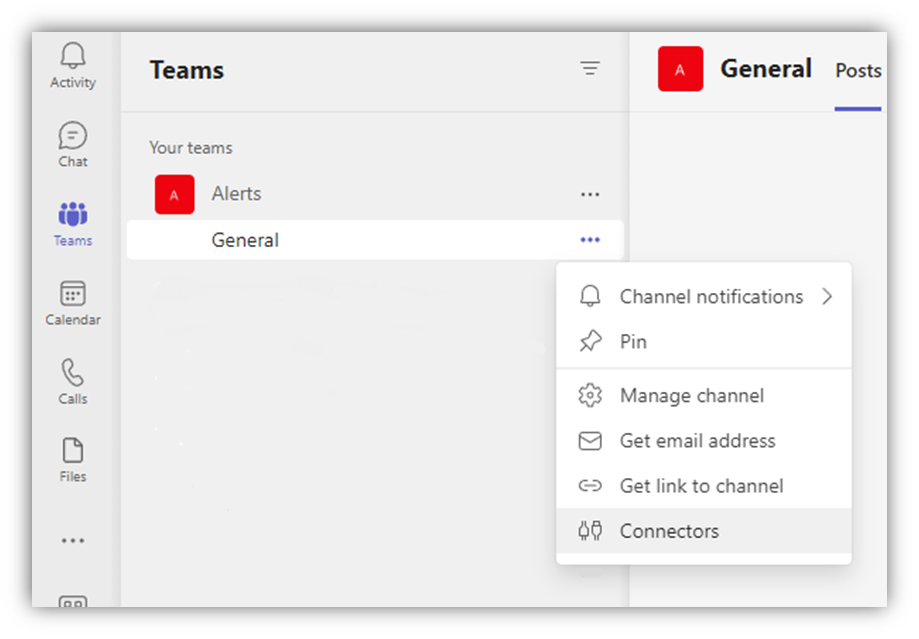
Click on the ‘Connectors’ option and a new window should appear with a list of connectors.
If you are using “new” Teams, instead select “Manage channel” to open the channel settings, then expand the “Connectors” submenu and select “Edit”.
Find the ‘Incoming Webhook’ item, (clicking on the ‘Developer Tools’ left-hand list may reduce the options to make it easier).
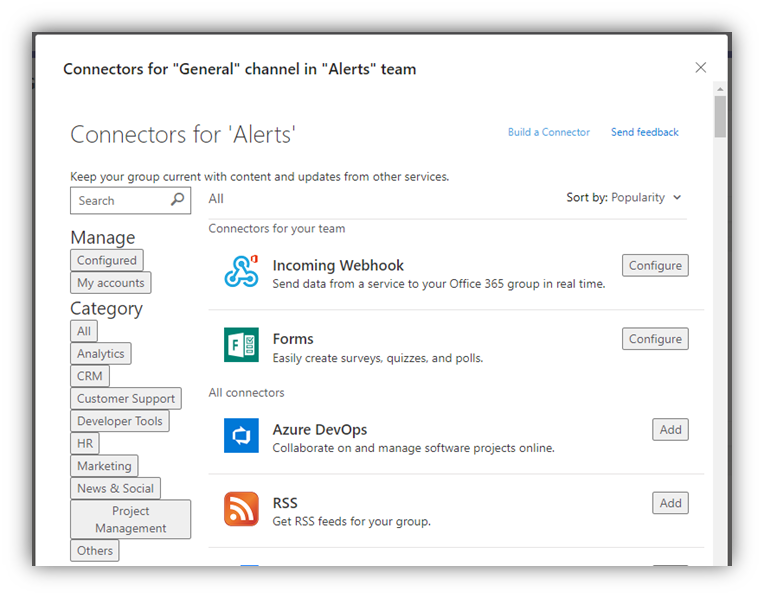
Then click on the ‘Configure’ button for the webhook item and a new window should appear.
In this new window enter a webhook name and optionally provide an icon (that will appear alongside the teams alert messages), then click the create button.

After a while a link box will be created with a copy button.
Copy the new webhook URL and paste it into the TeamsAlarmRecipient ‘Teams Webhook Url’ property.
Completing Setup
You can then click the done button to close the webhook window.
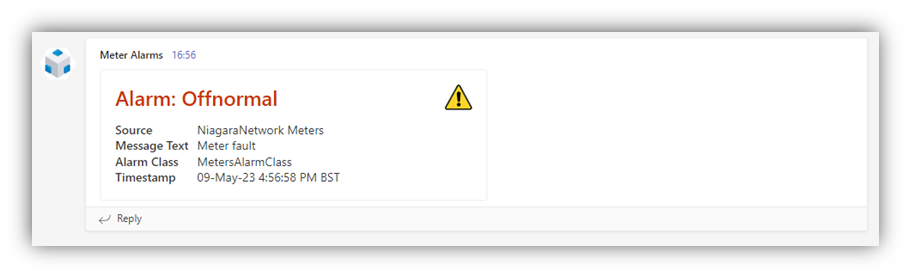
Once the webhook URL has been set up and the recipient is linked to the appropriate classes then alarm events will cause messages to appear on the selected Teams channel.