This article will walk you through the process of adding a new user to a station in your Niagara localhost from a station backup, a copy you have received or just lost the credentials for.
This guide relevant is if you have access to a Platform but not a station.
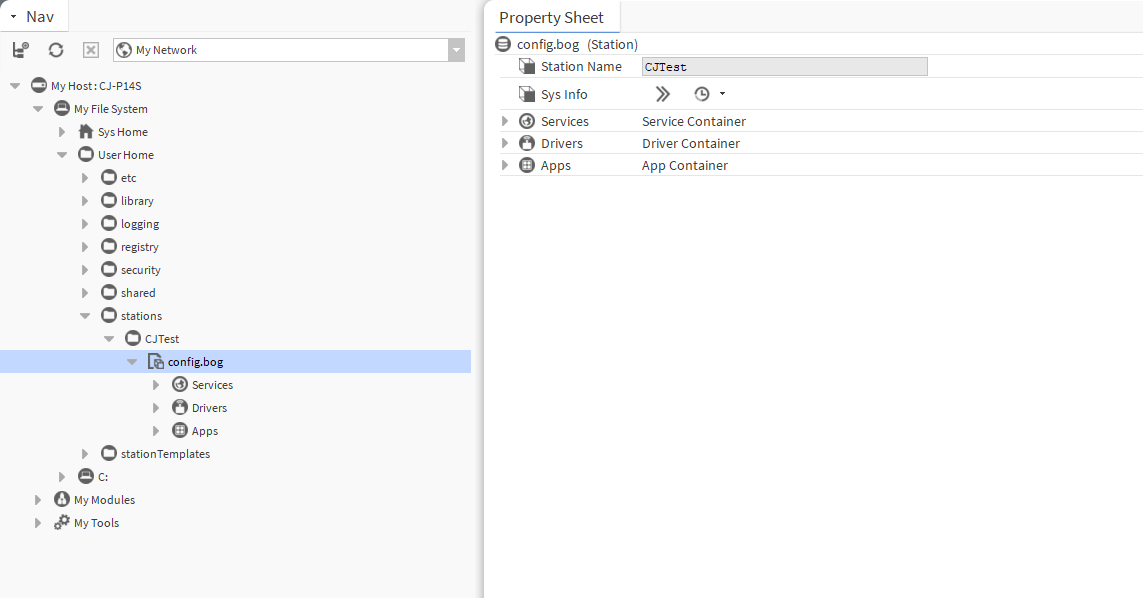
Step 1: Make sure that the station you want to access is in the Stations folder under User Home > Stations. If it’s not there, you can move the station to the desired location using the station copier in the platform or wherever the station is currently located. Just remember to back up everything to be on the safe side.
Step 2: The Second step of this process is to open the config.bog file of the station you are tying to edit. To do this navigate User Home > Desired Station > double click config.bog

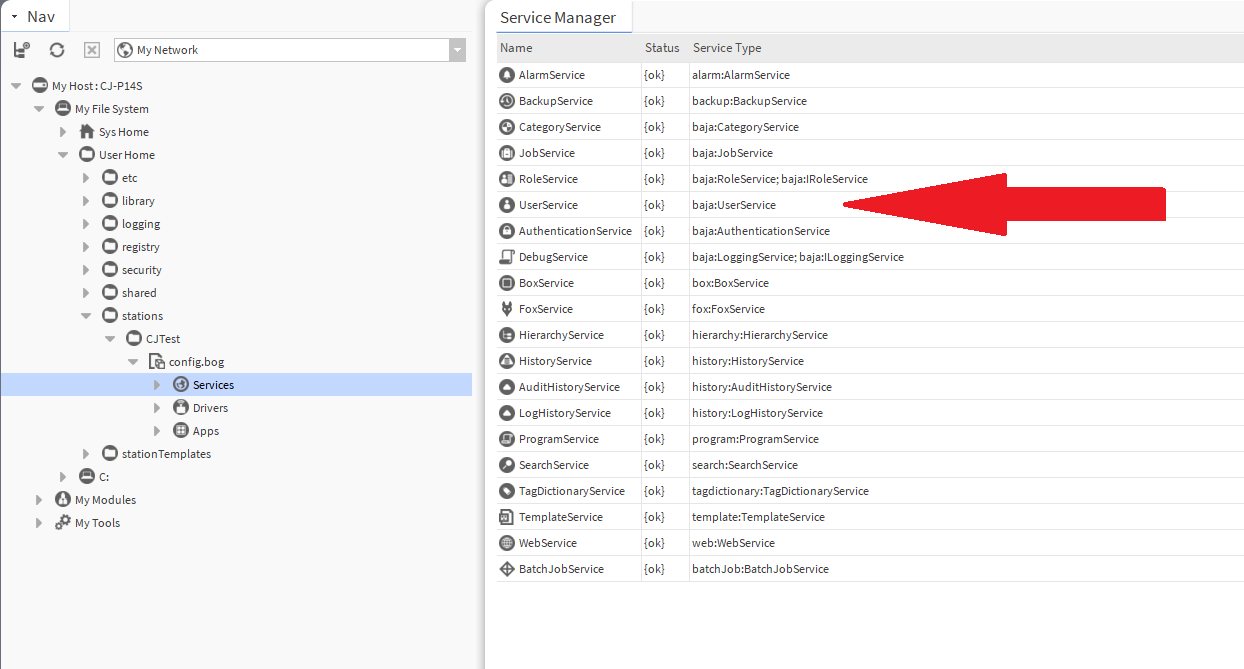
Step 3: To provide more details about the user service, proceed by expanding the services option and double-clicking on the user service. This can be done by navigating to Services > User Service.

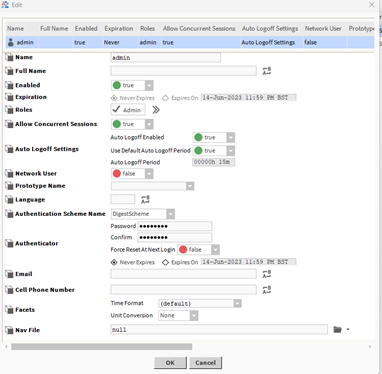
Step 4: To create the new user, click on the ‘New‘ button and proceed to fill in the necessary details. You can choose any desired username, but please ensure that the password meets Niagara’s password requirements, which include a minimum of 10 characters, at least one capital letter, and a special character such as ‘!?’.
To ensure that the user has the necessary rights, make sure to check ‘Admin‘ in the Roles option. This will grant full access to the system with the new user you have created.

Step 5: It is crucial to save the edited bog file to ensure that the changes take effect properly. To save the bog file you are currently editing, right-click on it and select ‘Save‘. Alternatively, you can also use the save icon located in the top bar of your workbench.”

Step 6: At this point, you can proceed to copy the station back to your Jace or any other device you desire to access it from. Once copied, simply enter the credentials you have previously created to gain access.
